Wednesday, October 17, 2012

Deconstructionist view

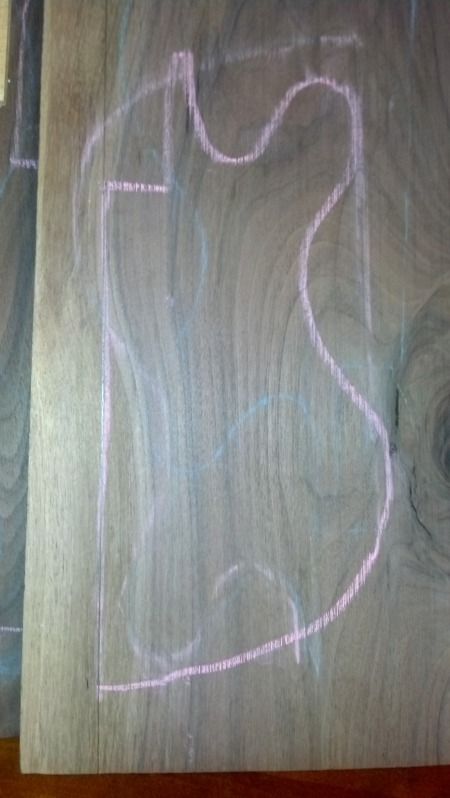
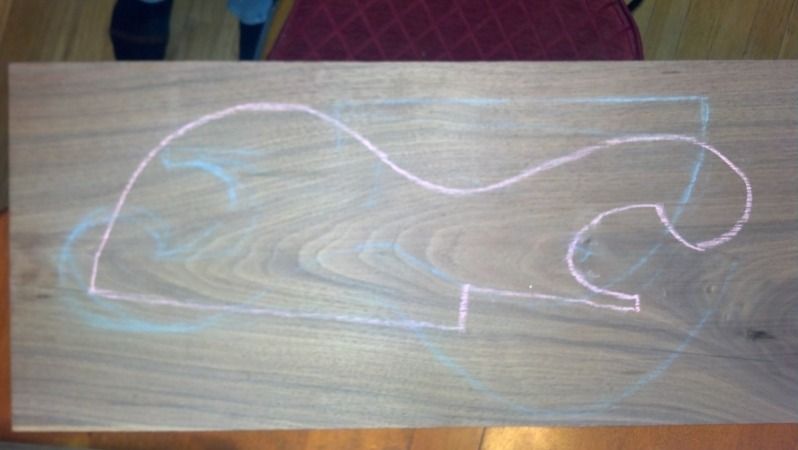
I've spent way too much time staring at this walnut trying to figure out how to cut it for maximum effect. I want some interesting grain in places you will see it and more or less straight grain where the two sides meet. I've found the perfect alignment six or seven times (evidenced by the many chalk lines in the pictures). Now that I have final design for the spalted maple inlays I made some templates that allow me to see exactly what will be visible.

Here is what I decided upon (the pink lines):

Lower wing:


Upper wing:

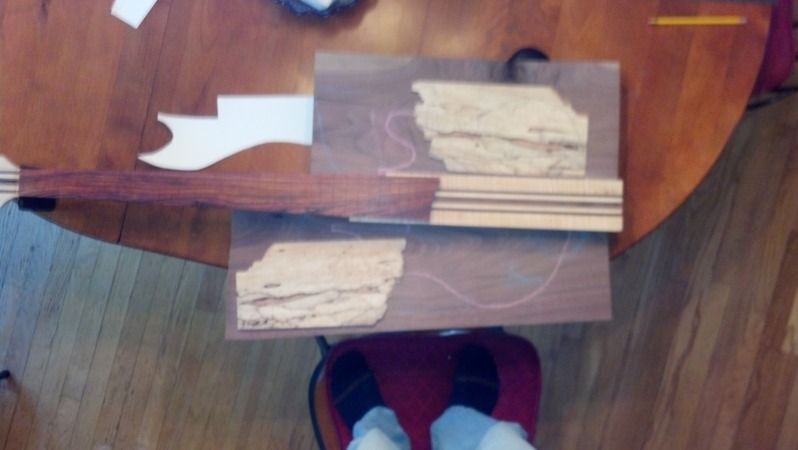
So here's a "deconstructionist view" of the bass - it takes a little imagination to get the idea of what this will look like - and I left one of my inlay pieces is over at the wood shop (I hope):

The one inaccuracy in the above is that the walnut will go over the neck blank, so from the front you won't be able to see the stripes, it will just be solid walnut.

I guess I'll start working on those wings, but I also have to drill and cut the headstock before I get wings attached. I am somewhat undecided still about the headstock design - I'm thinking of doing another inlay over the very end of the headstock. I have to think about that and look at the wood I have. I think the inlay would have to be symmetrical, which would be a bit difficult. I may just leave it with the stripes exposed - I am really trying to do the right thing and not the easy thing on this build. Leaving it as it would be easy thing for sure.

I gotta stack firewood this morning, but maybe I'll get an hour or two over at the shop later on.

Tuesday, October 16, 2012

More Neck

I got another hour or so over at the shop. I hate to say this (mostly because I know its not true), but the neck is done! I'm sure I'll have some tweaking to do, but I like the way it feels right now. Its not as flat across the back as my two other Carvin-necked basses, but I like it! Frankly I'm a little afraid to go too much further down as I know that truss rod is lurking pretty close to the surface. I'll do some measurements tonight, just to know where I'm at. I did some of the work with the spoke shave, a bit with the belt sander (that thing cuts FAST) and then finished it off with the orbital sander. As far as I can tell its straight.

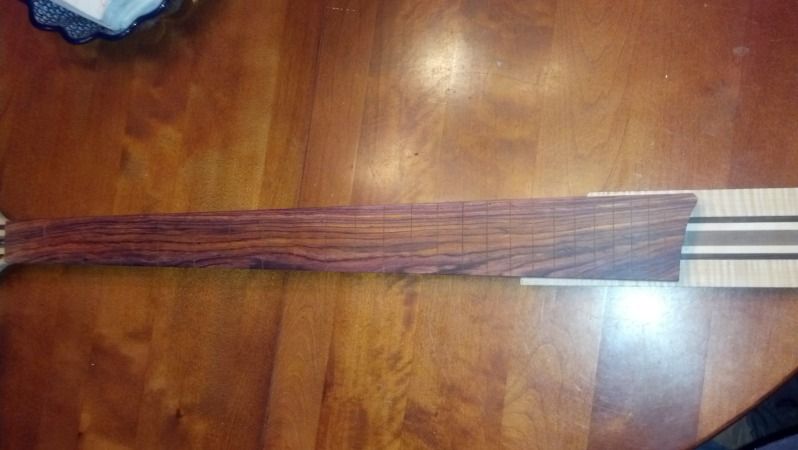
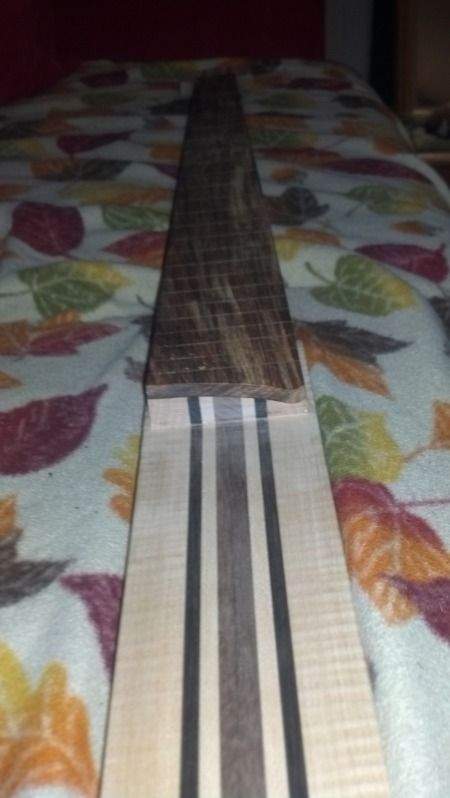
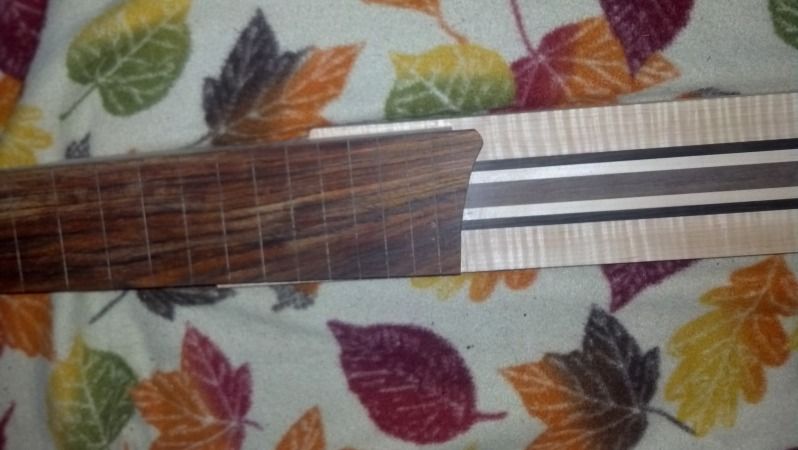
The cocobola is red when you sand it, but it oxidizes pretty quickly, going back to a brownish color - even now its not as red as it looks in this picture:

I tried to take a shot that showed the radius of the fretboard, I guess you can kind of see it. This took a stupid amount of hand sanding to get it done - no way around it. I had a sanding block that had the contour in it and I just double stick taped some sand paper on it.


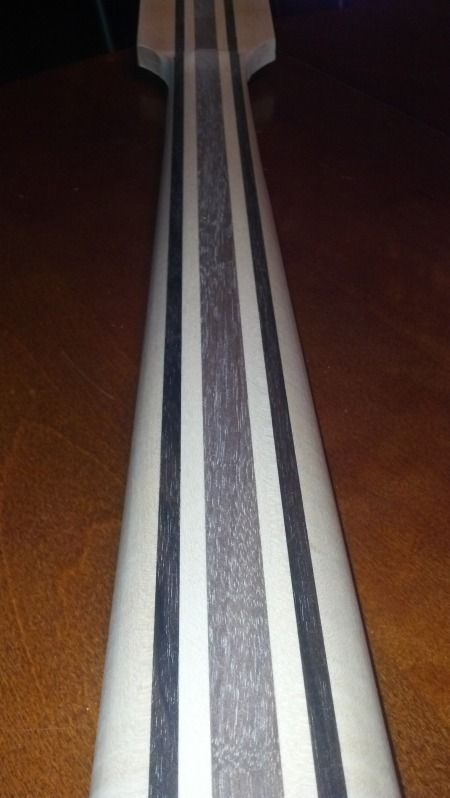
The back looks great - apparently the maple gets dirty, right after you sand it, it looks so white and clean.


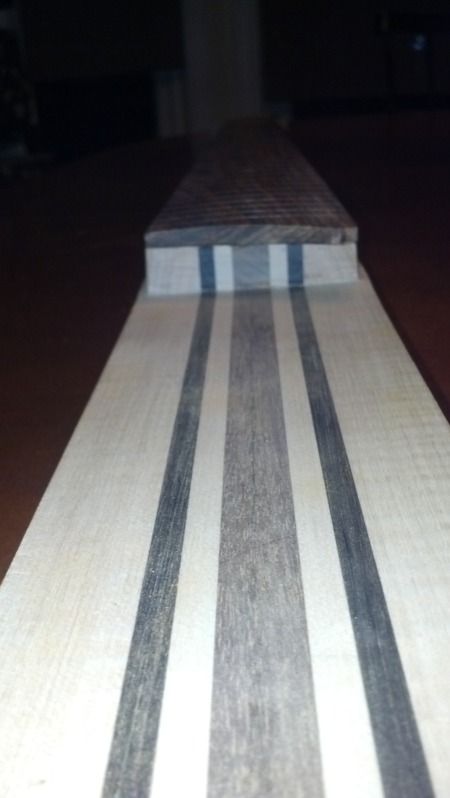
I have a bass that has a five piece neck, this seven piece neck is interesting because the ebony stringers are part of the neck contour.

Its hard to believe that neck looks "done" now, I was really expecting it to take a lot longer. I probably cut a few corners using the power tools, but I'm happy with the result, so I guess all is good. I guess the next thing to get done is the wings, I'll have to think about the process tonight.

Started the neck

I started out carving with the spoke shave, which didn't go great. No matter how light a cut I took it would dig in on the stripes in the tiger maple. I ended up using a belt sander and an orbital sander, with the spoke shave a bit too. I have it roughly shaped, getting to the final shape will take courage and trust in my measuring skills. I know that truss rod is really close to the back.
It's amazing how rounding off the back like that makes it look like a bass neck instead of a block of wood. Probably get to more tonight.

Monday, October 15, 2012

Neck - looking good (and some bike content)

I spent an hour or so working on the neck today. First I had to scrape off the glue that squeezed out, then sanded everything down until it was straight - it was very manual going back and forth between the drum sander, a scraper and a sanding block. Its looking great now - nice and straight. I need to cut a bit off the back of the neck (I left it big "just in case") and then I can get on my way with the neck carving. I saw a video on line from someone who knows what they are doing and it took them four hours. So I'm probably looking at 6 hours easily, probably more like 8.  I can't imagine removing all this material with a spoke shave, I have a feeling a belt sander and/or the band saw will come in play.


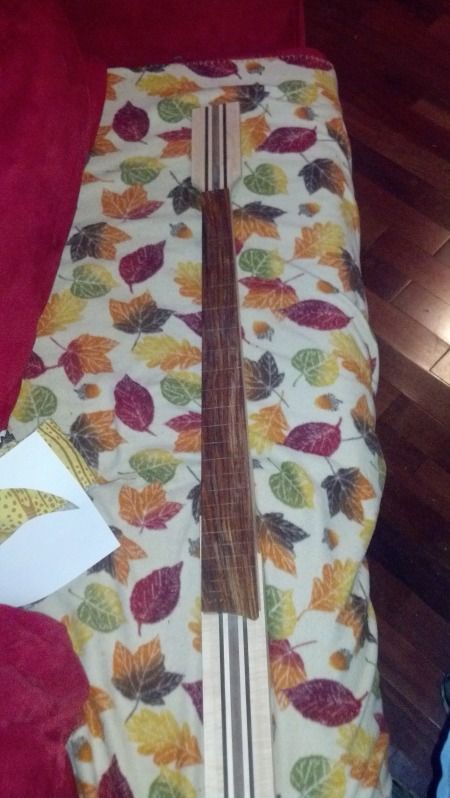
This is an optical illusion, the fretboard doesn't actually dip down like that :-D


A little bike content (I really expected that there would be a lot more bike content in this blog!) - I went and picked up a spoke shave from my brother who was at the other end of Tolland. It was a beautiful day for a ride and I cranked out 25 miles or so. That road bike is pure evil - the only thing keeping you from going faster is you. It has a computer on it that tells you whether you are going slowing or faster than your average speed - again, pure evil. It just makes you push harder and harder - ok maybe I have some control issues. Despite all the evilness, it was a nice ride on a really warm fall day. Props to the cop who made me take the detour adding 8 or so hilly miles onto my almost done ride. 

Sunday, October 14, 2012

Glue up

I glued the fretboard to the neck today. I found a spoke shave, so the fun should start this week. I probably have about 15 hours into the neck so far, it's kind of amazing that after all that work I am almost to the starting point of the other basses I have made!


Saturday, October 13, 2012

Design terrors

I am kind of stressing about the design. I still have a bunch of hours of work to go on the neck, but once that is done the next steps will have impact to the design. The first of which is the headstock.

I am really trying to find a theme of some sort to tie the whole thing together (cue the Big Lebowski reference). I have two possibilities for inlays - I have a nice piece of flamed maple and that piece of spalted maple I found in the woods. I would REALLY like to use the spalted maple. I think having something from the woods where I spend so much time would make this bass really special.

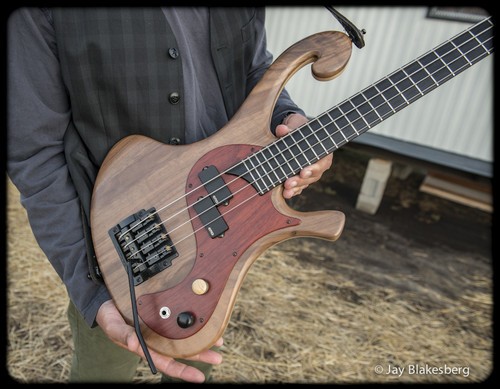
My original plan was to do something like this:
This is one of Les Claypool's basses (well its actually not his anymore because he auctioned it off for charity). My original thought was to make a pickguard like the one shown in the picture. After messing around with that idea for a while I decided I didn't like it. I also think there is a strong possibility that the wood on the pickguard would warp over time and that would just look bad.

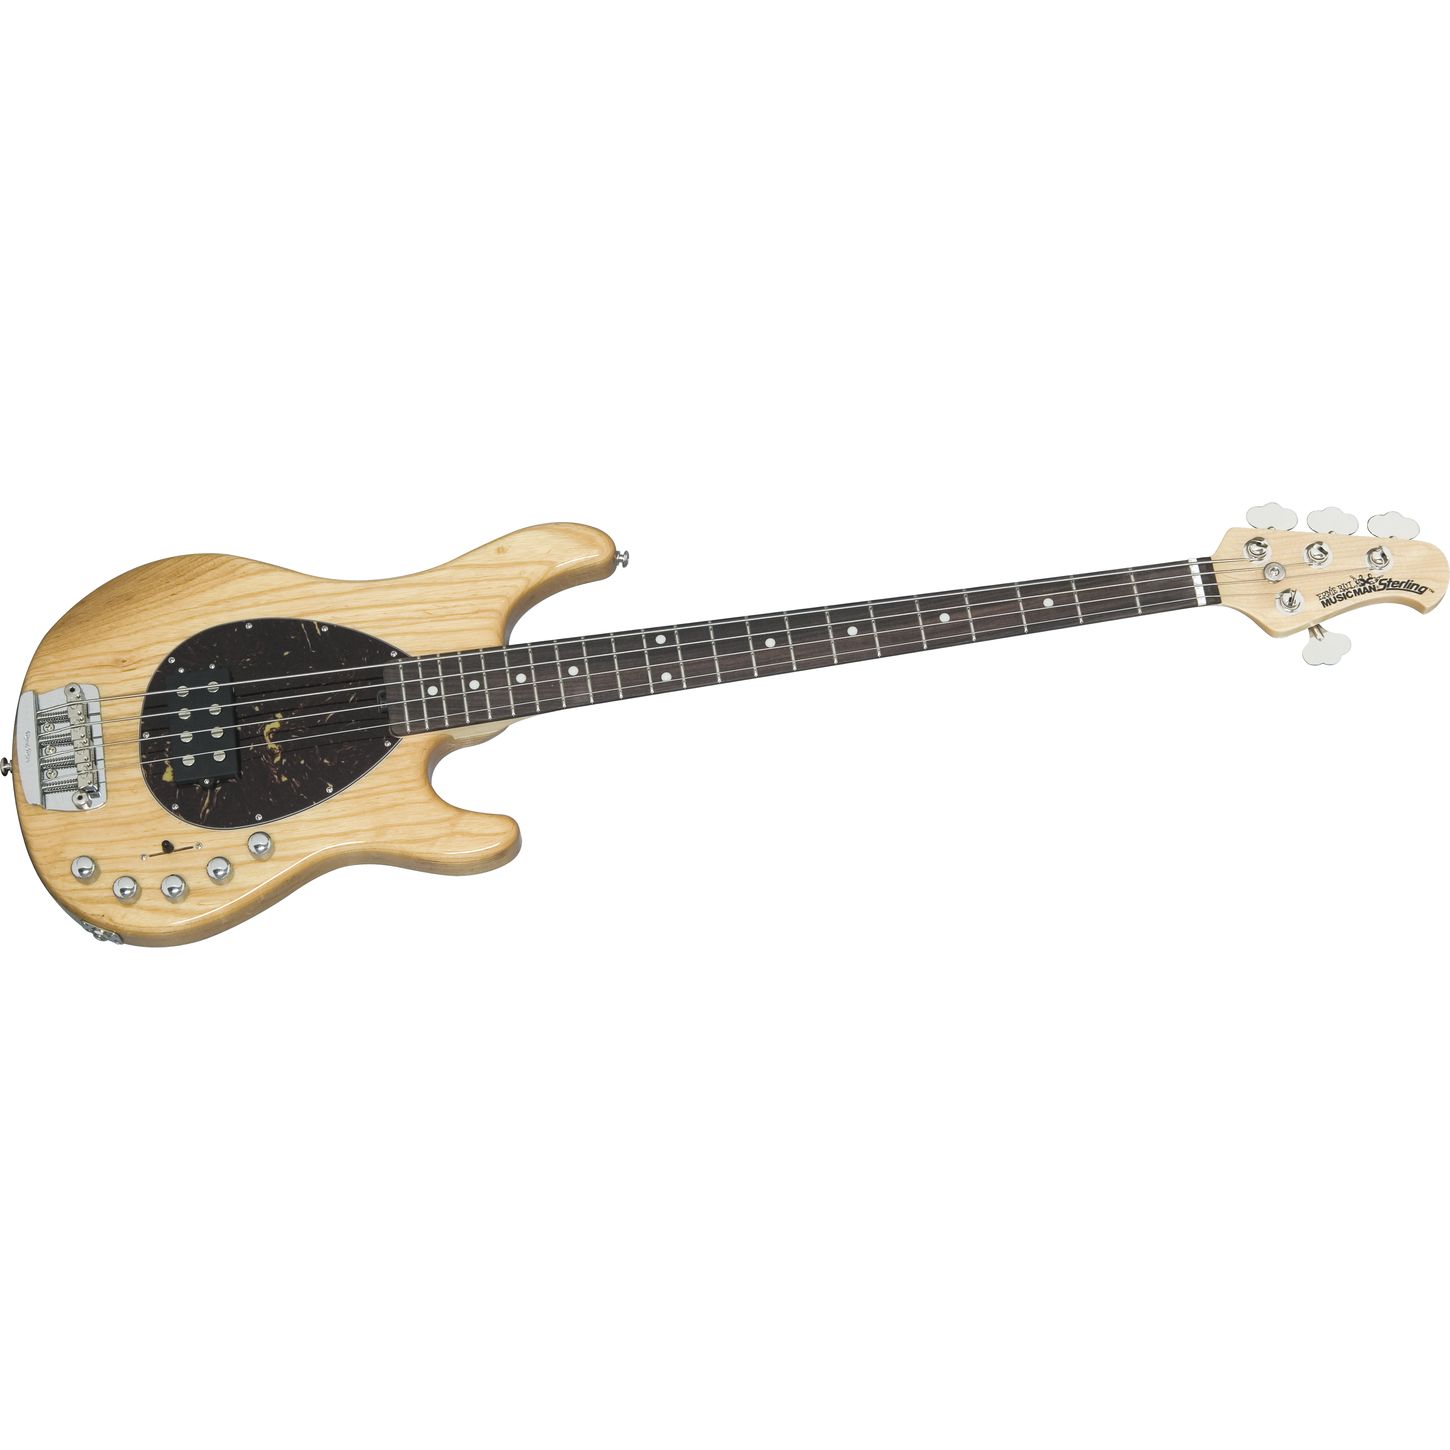
Next idea was "circles". Instead of making a pickguard thing like in the above bass I was going to do a circle inlay, so it would look somewhat like a Musicman bass (ok, not really, but you get the idea):
I would also have a circle inlay on the top horn and the top of the headstock would have some kind of circular element. I think the circle thing is cool, but it does create some weirdness when you look at the edge of the bass compared to the edge of the circle, its a symmetrical element against a freeform one. I am concerned I would focus on that every time I looked at the bass. I know myself well enough to realize that's a distinct possibility - there's a contour on my first bass that bugs me every time I see it. 

Now I'm thinking about doing an inlay, but having it be two pieces, one on the upper side and one on the lower side. Dawn had a good idea of making the inlay follow the contour of the wing, then have a sort of free form element on the inside, closest to the pickups. To carry this idea along, there would be a teardrop shaped inlay on the upper horn and some kind of similar thing on the headstock. 

So I guess that's the idea right now. I have some time to play around with it, the key is playing around and not stressing out. Its supposed to be fun! I have to remind myself of that.