Saturday, October 20, 2012

First mock up

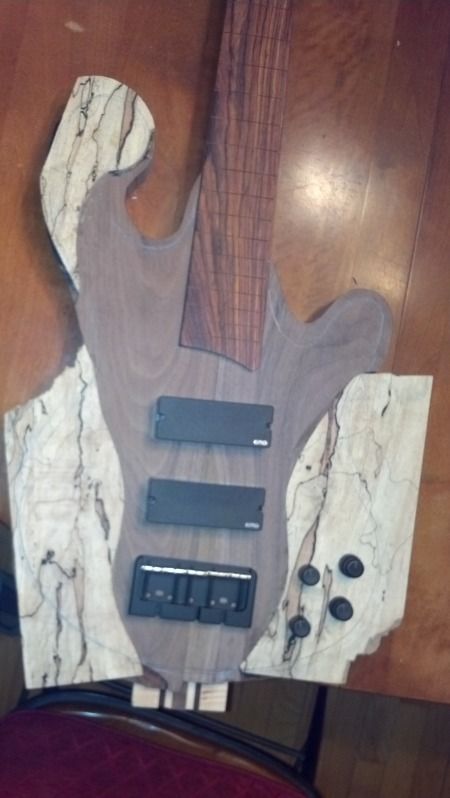
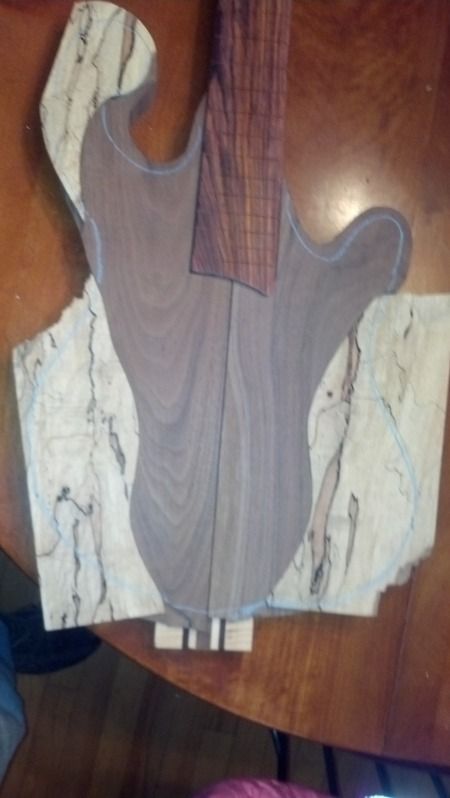
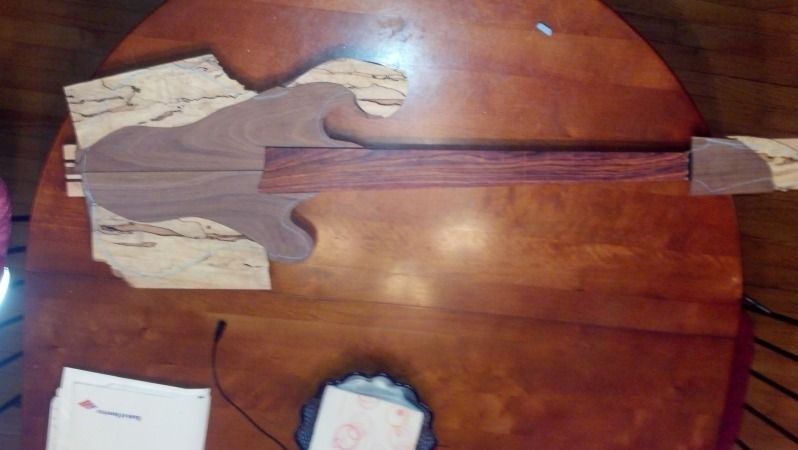
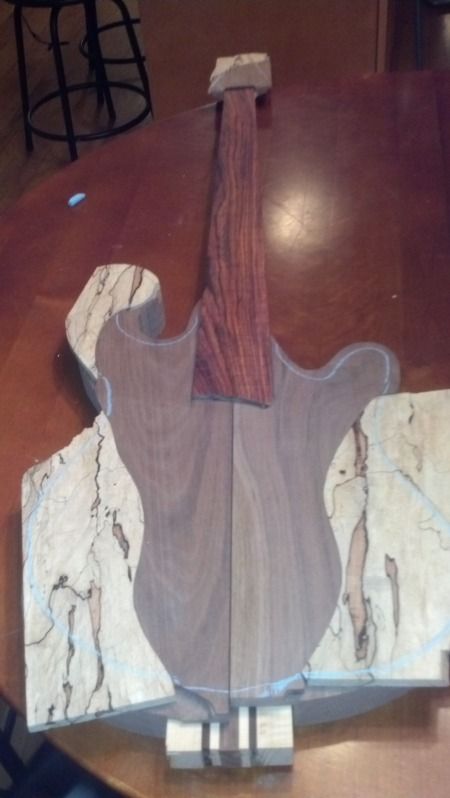
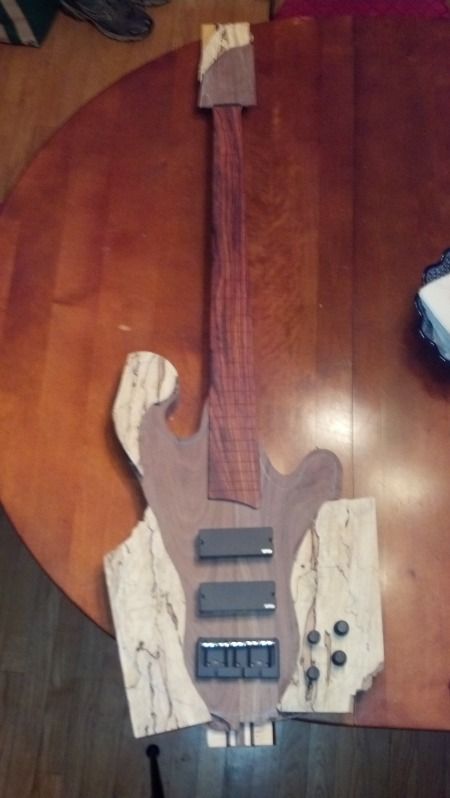
If I know myself (and I think I do) this is the first of many times I will do this - lay the stuff on top to see what it looks like - I made some changes to the outline, they are in pencil so you can't see them in this pictures.

It looks pretty good, but it will look a lot better once I get it cut, the extra wood hanging off the side is just so distracting. I need to line up a lot of stuff - where the control cavity, knobs, bridge and pickups will go. Also based on how everything glued up I'll need to tweak the design a bit. A few things didn't end up where they were supposed to. Not a big deal - just changing an arc here and there.


I have to get the headstock cut and drilled before I glue the wings up too. That's a lot of commitment :-D

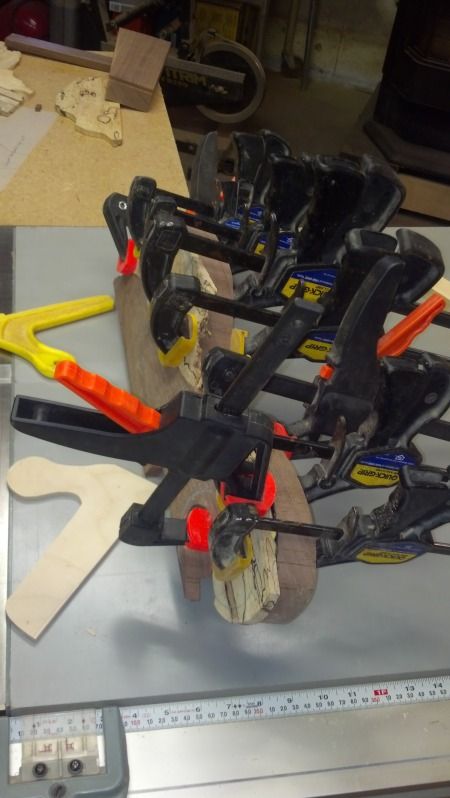
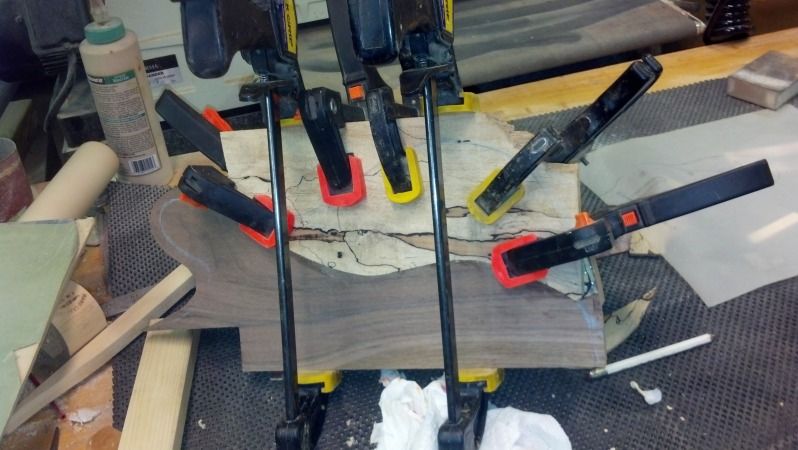
Unclamped

I unclamped everything. It all looks good, but I won't know for sure until tomorrow when I can get to cutting and sanding. I have to wait for the glue to set 24 hours before I can do anything serious. I would take pictures, but they look a lot like the last pictures, just more permanent :-D

Glue up

I spent a few minutes getting the inlays a bit better aligned then I glued up all the inlays. I wish the inlays were absolutely perfect, they are very close. I just have no idea how close is close enough. I guess I'll find out once I start sanding.


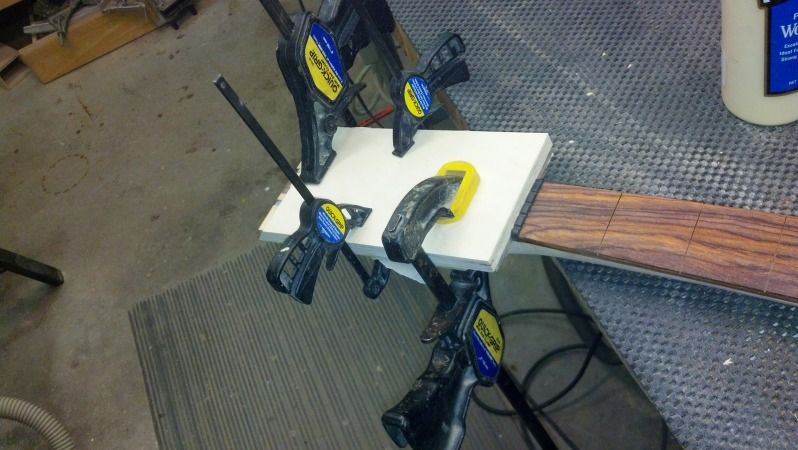
I also got the nut lined up perfectly and glued on the headstock laminates. That was done a bit blind as I had to use a piece of plywood on top of it.


So I guess next I'll be cutting things down to size and using a roundover bit in the router to get to all the spots I can't hit once the wings are glued up.

Remember to cut that channel for wires! I put one set of wires in the bag I've been bringing over there, hopefully that will remind me.


Anigre

I really don't know much about this stuff, but I'm putting an anigre laminate underneath the inlays. You won't be able to see it from the front, but it gives the side view some interest. The black line makes the lines on the spalt pop too. Hopefully I'll get this all glued up today.
I need to stack wood and my mountain bike has been getting jealous of all the time I've been spending with the bass project. Seems like a ride is in order for this afternoon!

Friday, October 19, 2012

Inlays!

It was a tough, but productive day at the shop today. After a few false starts with router and clamping issues we got the pockets for the inlays routed out. If I haven't mentioned it before, my father has been helping me out with the tough steps. I'm a router novice so he ran the show today - or at least the parts involving the router.

I'll admit to being a intimidated at times working in my dad's shop, but I've done almost everything on my own this time around, but I do consult him when I'm not sure what to do. He's saved me from my ignorance many times on the four instruments I've built. Having access to all those high end tools is pretty amazing. Being able to share the time with my father is priceless.

So today we made some templates for the inlays then we clamped them onto the wings and routed out the area. We had to take two passes and we had to move the template for each pass, so it was a pretty time intensive process. I suggested a few shortcuts which my dad labeled as "risky" (we didn't do them).

On to the pictures:

If I had any guts at all, I would have cut the wings to size before this step, I don't so I cut it really big. I'll cut it perfect after I get the spalted maple glued on. I figure if I messed up some measurement somewhere along the way I can still recover. It happened today - that upper horn is right at the edge of "wide" cut, if I cut it where it was marked I would be changing the design.

You'll have to settle for blue chalk lines for now.


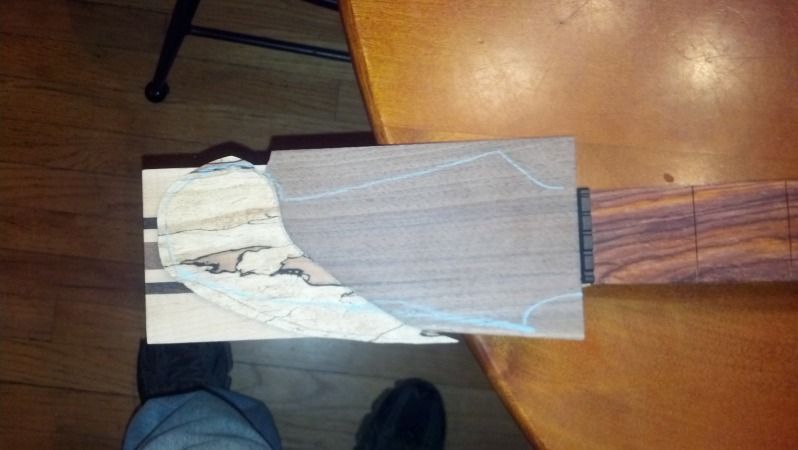
I spent over an hour getting the overlay for the headstock perfectly jointed last night, then when I looked at all the pieces this morning, I didn't like the orientation of the grain, so I cut a new one today. The weird thing is it took me 20 minutes tops to cut the new one and get it shaped, I thought I was getting good at it:

I said I thought I was getting good at it, that was before I started working on matching the inlays to the routed out bit. That took a long time. I probably have an hour into each inlay - they are not perfect yet, but actually pretty close. I can probably make them perfect in another hour total. 

A couple of full body shots: 


Right now the inlays are perfectly flush with the walnut, but I'll be putting some anigre underneath it (its an extremely thin, black dyed wood), which will bring it up a bit. After I get it all glued together I'll use a belt sander to bring it back down flush. Someone remind me to route a wiring channel in the lower wing, I am convinced I'm going to forget. That would make wiring the front pickup extremely difficult. 

Good progress, but almost five hours in the shop today. I'm probably still a few steps from getting to a bass shaped object, but I can see it happening soon! 

Thursday, October 18, 2012

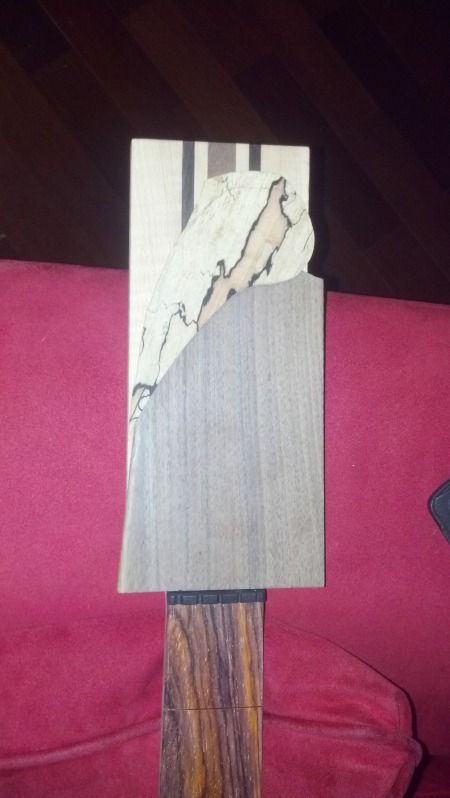
Headstock inlay

This probably doesn't look like as much work as it was, it took a LONG time to get these two pieces to meet perfectly. I hope it works out as good as I think it will - this should bring elements from the body up onto the headstock. It looks really weird in this picture. I guess you'll have to trust me :-D


Tomorrow I will be doing the body inlays. I can't wait!

Wednesday, October 17, 2012

Wings

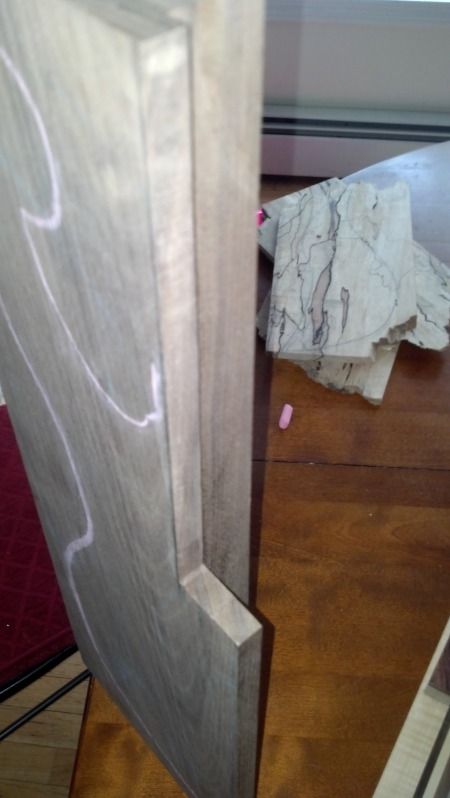
I worked on the wings a bit today - it was more careful work, these cuts were the ones that I have been thinking about - the cuts on both wings have to be perfect so that they both meet at the middle and hit the sides of the neck. Add to that the fact that on the sides up by the fretboard there's cut that's tapered. Putting all those things together was quite a chore, its not perfect yet, but 95% there - I'll have to do a little staring to figure out what exactly needs to be fixed. I stared at this a long time, measured eighteen times and still had a few issues :-D. In the end, it worked out fine. I can't wait to get this thing done. There's still a LOT of work to do, but I feel good getting done what I did.

A side view of the cuts on the upper wing, I had to do the same on the bottom wing:


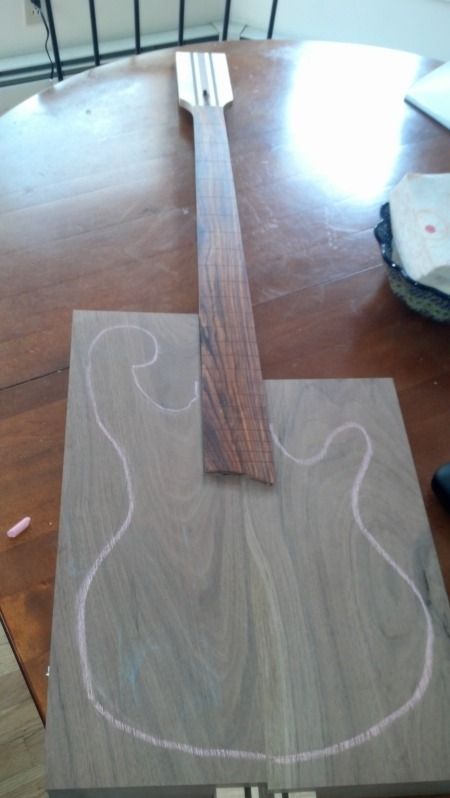
With the wings over the neck - I like the way the two sides match where they meet - there's some difference in coloring, but the grain is pretty close:
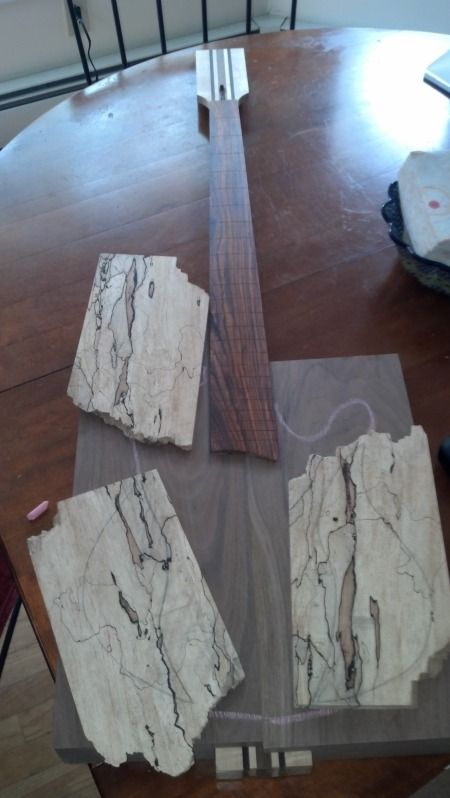
and with the "to-be-inlayed" pieces in place.

That's the next step - I need to route for the inlays. I will probably get to that on Friday.