I thought I'd end this build saga with a note of thanks to the people who helped me.
The first, and most obvious person, to thank is my father. While he did less on this build than others in the past, I would not have been able to do as much on my own if it weren't for his guidance on the previous instruments. On this bass build he helped me out with strategies to get different things done and cautions against some approaches I had to some difficult problems. He also did do some of the more complex operations. Its always great to have an expert right there at hand when you have a question or need help. I can't thank him enough for his willingness (insistence?) to allow me to use his shop and tools. While I tried to live the "leave it better than you found it" rule while over there, I am sure I interrupted his work, but you would never know it. I truly enjoyed spending time working with my father on this (and every other project), its great to share a passion like this. Thanks Dad!
Second, my wife Dawn. This project took about 50 hours over two months, and that's just the actual shop work. I fretted (pun intended) and talked incessantly about this for about a month before I started and throughout the whole process. I don't know how she put up with it. Saying "put up with it" sounds like Dawn just kind of passively listened to my rambling. She did way more than that, her ideas are incorporated throughout the bass - as an example those inlays were largely her idea. This is true support and not just lip service. I hope I provide some of that encouragement and support in her endeavors.
Third, my mother. I saw an episode of 30 Rock yesterday where Liz's family was featured and they were lambasted for being overly supportive. I couldn't help but think of my mother - she has been so entirely positive and complementary. I know she's my mother and she kind of has to do this, but she's really good at it and having those positive messages all the time is comforting and reassuring. Truly appreciated.
...and yes I'm scanning Ebay for wood for the next build :-D
Wednesday, November 21, 2012

Tuesday, November 20, 2012
Now its really done
I got the neck oiled and dried, for some reason the coats of oil on the neck dried really quickly. I did five coats (I think). It looks great. I'm pretty happy with how it came out, I learned a few things and the next one (yes there will be another) will be better.
On to the porn:
Front:

Back:


Front, bottom up:


Upper Inlay:


And finally a family portrait -
Left to right
My first build - a fretted five string with Carvin neck and electronics
The latest build (calling it the Case bass for now)
My third build - a fretless five string with Carvin neck and EMG electronics
My second build - a six string guitar with Carvin neck and electronics.

On to the porn:
Front:
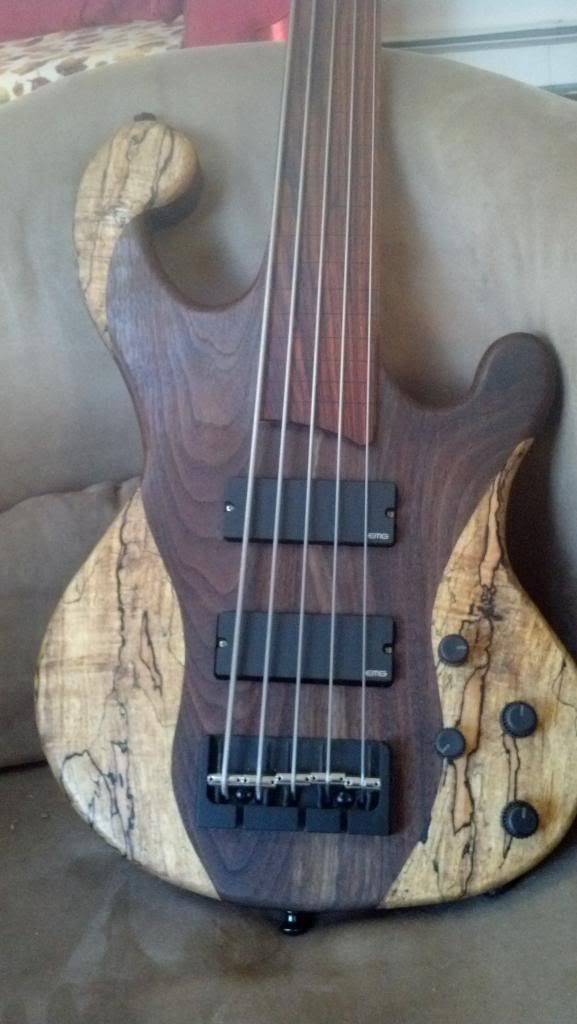
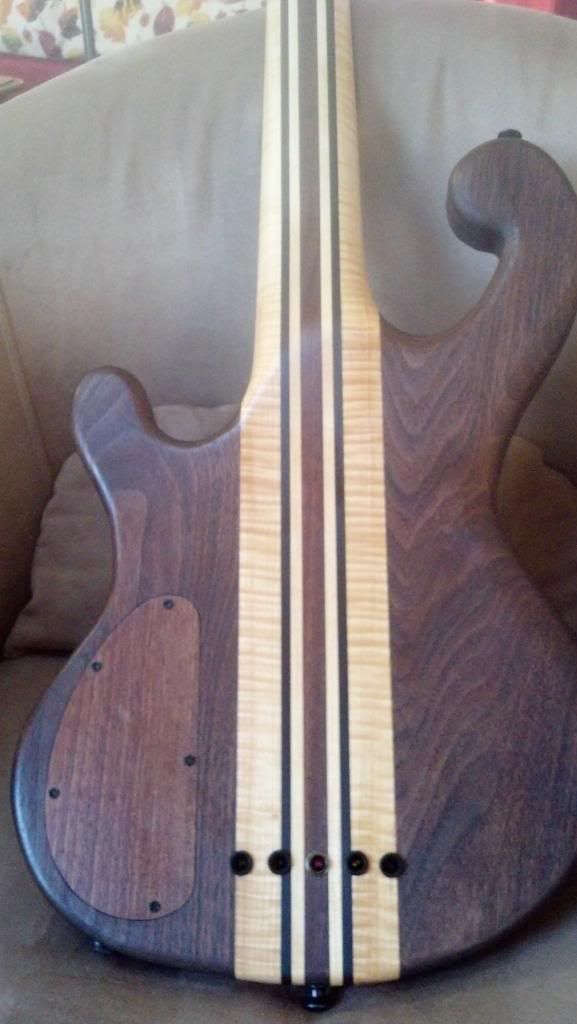
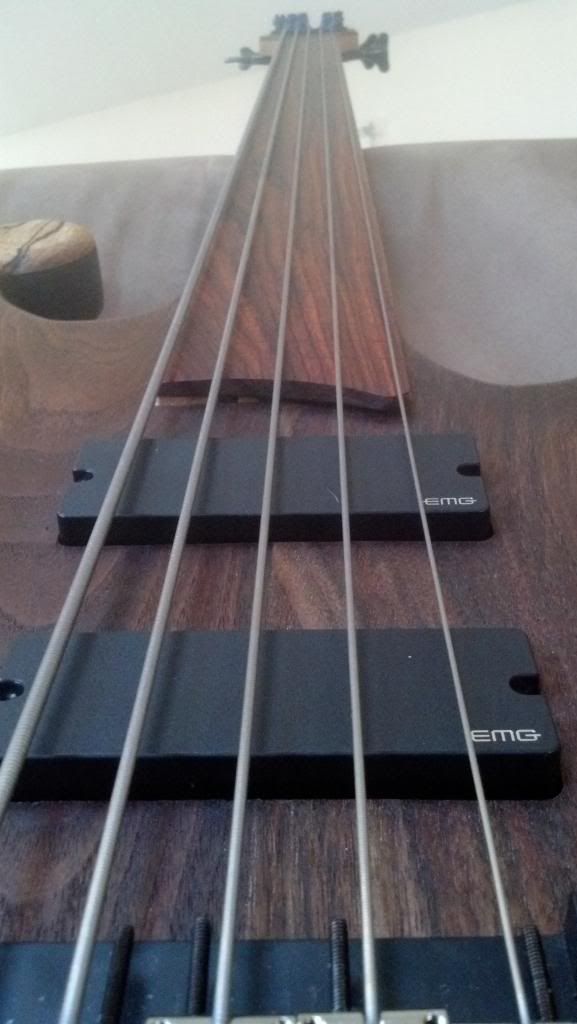
Back bottom up:
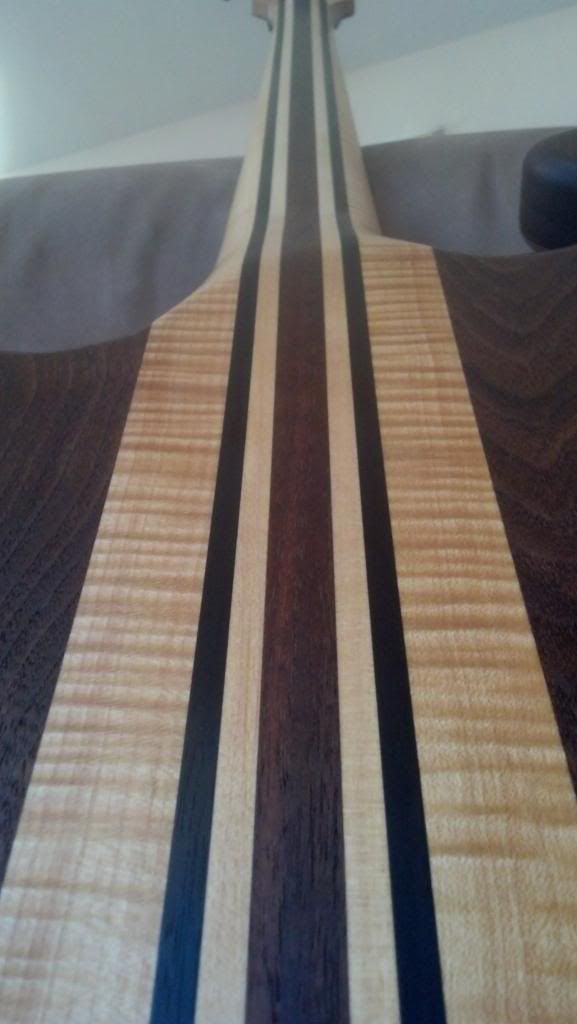
Lower inlay:
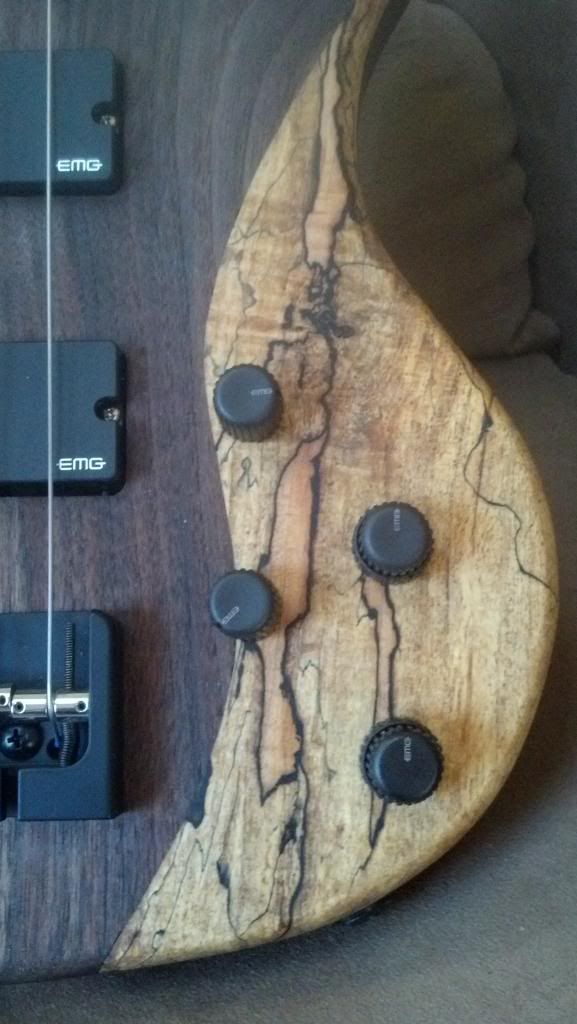
Pickups:
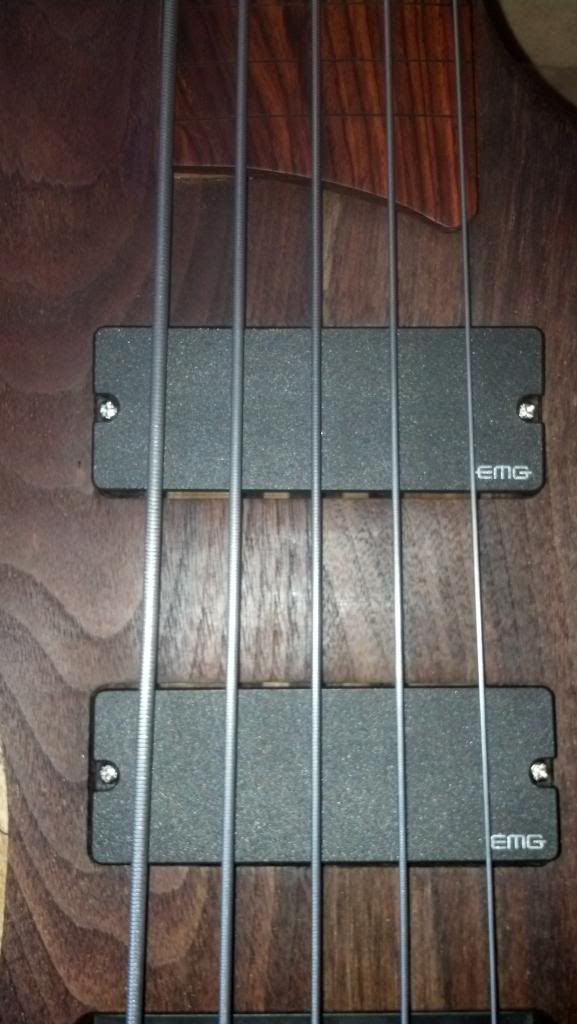
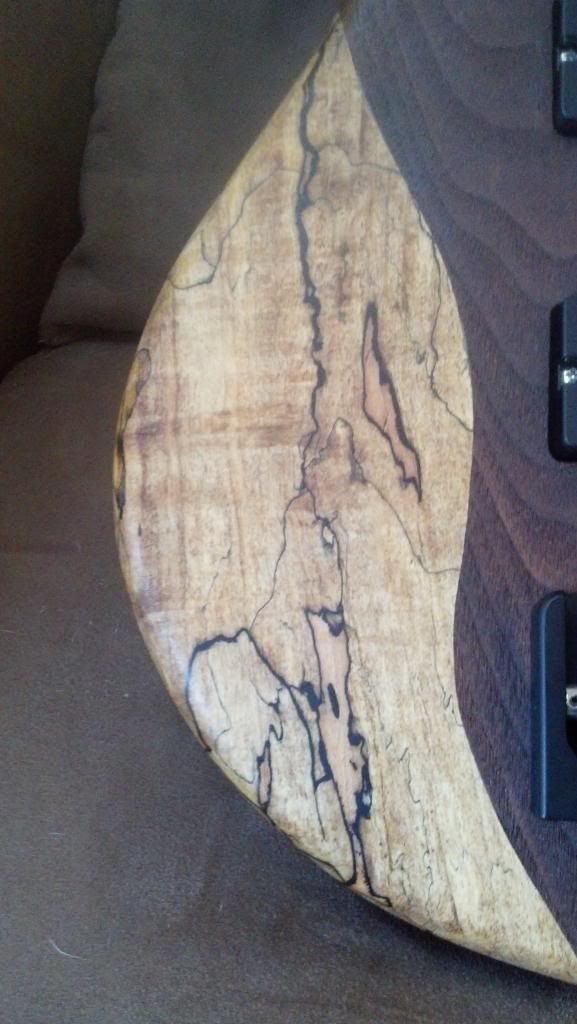
Upper horn:
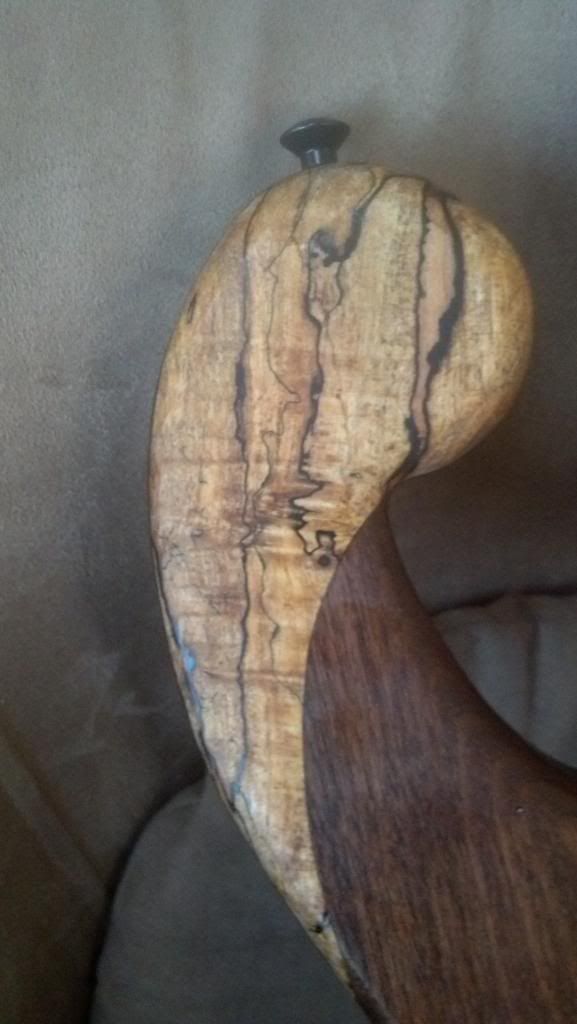
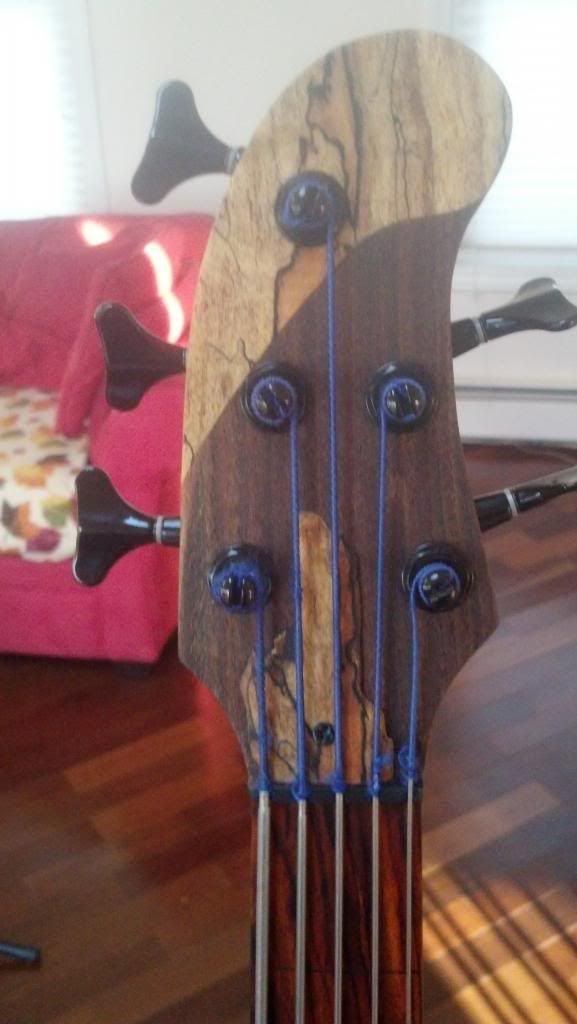
Headstock:
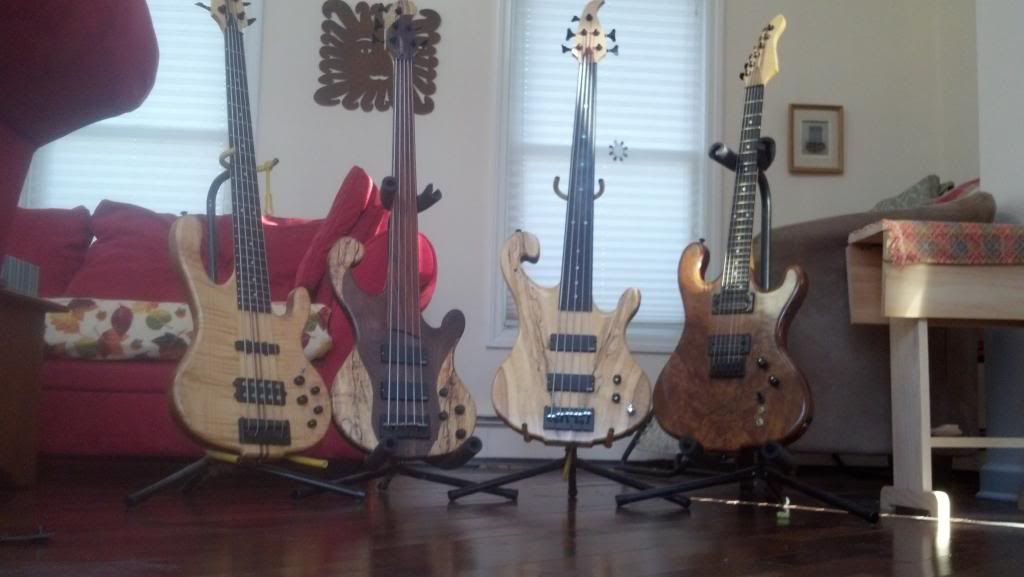
And finally a family portrait -
Left to right
My first build - a fretted five string with Carvin neck and electronics
The latest build (calling it the Case bass for now)
My third build - a fretless five string with Carvin neck and EMG electronics
My second build - a six string guitar with Carvin neck and electronics.
Sunday, November 18, 2012
Neck Liposuction
I have been hemming and hawing about the shape of the neck - I didn't like it at all - it seemed very blocky. I did some measurements and found that there was definitely some extra material on the back of the neck as well. I'm kind of upset with myself for not being more careful about this. I just hope re-finishing it isn't going to be a problem. If I have to sand this whole thing down I'm going to be pretty bummed.
Part of my reluctance to address it comes from me being afraid that in "fixing" it I would mess something up. I also had in my mind that the bass was done and going back to sanding was a bit of a let down. So while I was procrastinating I was also losing sleep, the last three days I've been thinking about how I was going to approach this. I did a stare and compare to my other basses, did some measurements with a straight edge and came up with a plan.
I went and got some finer sandpaper for the hand held belt sander figuring that was going to be my weapon of choice. The woods in the neck, especially the ebony and the maple, are extremely hard woods, so I figured the belt sander with fine paper in it would be the right tool.
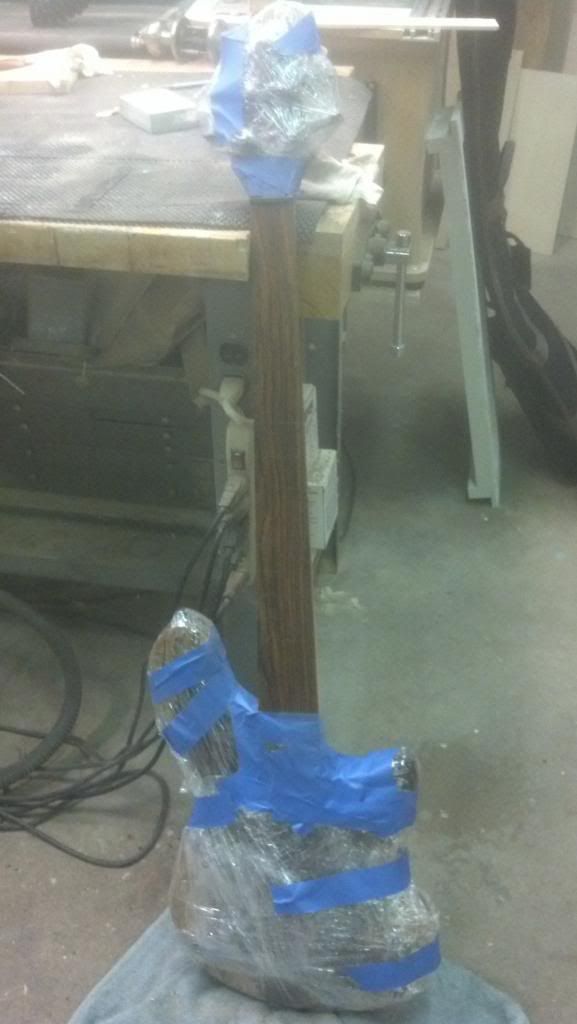
I covered the bass in plastic wrap and masking tape to hopefully protect the electronics from the sawdust.
The patient ready for liposuction on the neck:

I started off with the orbital sander, just to see what it would do - it didn't work well on the narrow neck. I decided to try a sanding block with 80 grit sandpaper in it and that worked pretty well - it took me about 2 hours to take about 1/8" off the back off the neck and to round it off.
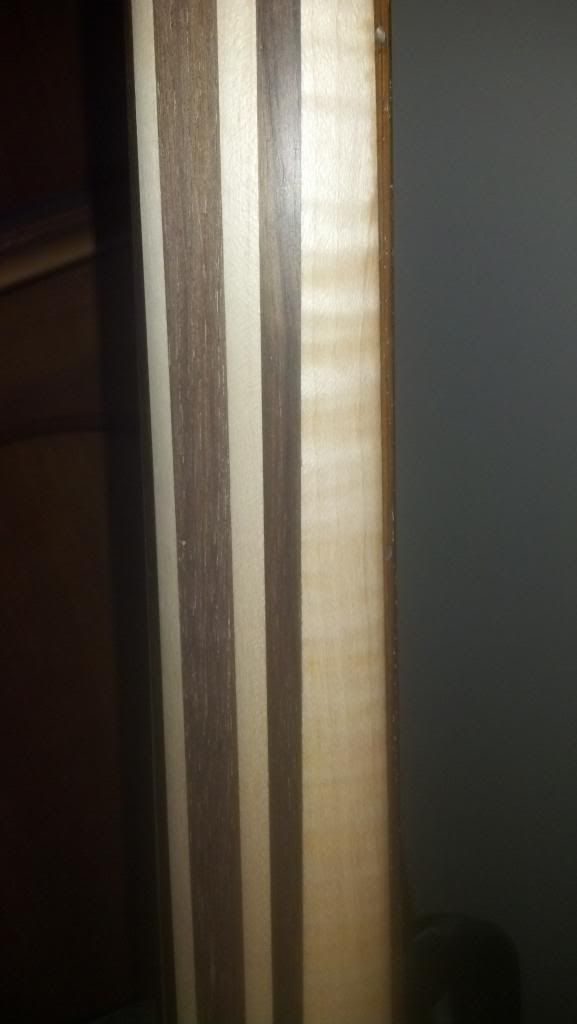
It's hard to believe how much better it looks. The pile of sawdust wasn't even that big, but it looks so much different. I can't wait to get some oil on it and get it back in the studio. I'm sure there's no way to see the difference, but here's a couple of "after" shots for good measure.


Part of my reluctance to address it comes from me being afraid that in "fixing" it I would mess something up. I also had in my mind that the bass was done and going back to sanding was a bit of a let down. So while I was procrastinating I was also losing sleep, the last three days I've been thinking about how I was going to approach this. I did a stare and compare to my other basses, did some measurements with a straight edge and came up with a plan.
I went and got some finer sandpaper for the hand held belt sander figuring that was going to be my weapon of choice. The woods in the neck, especially the ebony and the maple, are extremely hard woods, so I figured the belt sander with fine paper in it would be the right tool.
I covered the bass in plastic wrap and masking tape to hopefully protect the electronics from the sawdust.
The patient ready for liposuction on the neck:
I started off with the orbital sander, just to see what it would do - it didn't work well on the narrow neck. I decided to try a sanding block with 80 grit sandpaper in it and that worked pretty well - it took me about 2 hours to take about 1/8" off the back off the neck and to round it off.
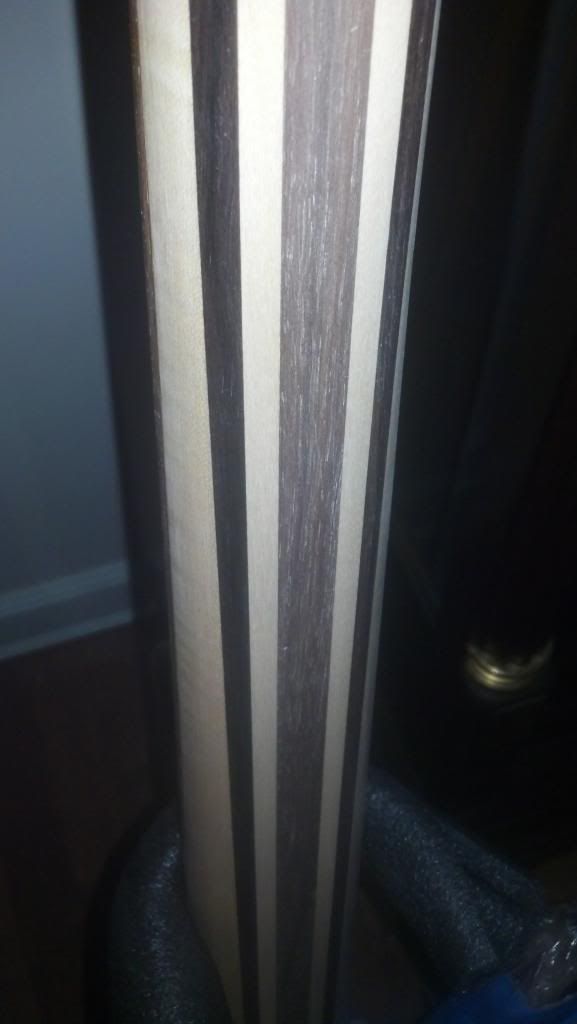
It's hard to believe how much better it looks. The pile of sawdust wasn't even that big, but it looks so much different. I can't wait to get some oil on it and get it back in the studio. I'm sure there's no way to see the difference, but here's a couple of "after" shots for good measure.
Tuesday, November 13, 2012
First impressions
The last bass I built has three knobs on it, a smile/frown EQ and a volume for each pickup. I honestly didn't put a lot of thought into that set up when I got it, it was something a local bass builder had for sale, it was the right price and it relieved me of the hassle of figuring any of this stuff out.
There is now a website called Best Bass Gear that has so many different pickups and preamps its a bit overwhelming. I spent a few hours figuring out my options and asked them a few questions before settling on the same pickups I have in the other fretless, but changing the preamp to one that has six knobs. On this one I have treble, bass, mid-range, mid-range sweep, volume and pickup mix.
I played with everything flat to begin with, I mistakenly thought that's where I keep the controls of my other bass (it looks like I'm going to need to come up with names for my basses since I now have two fretless ones!). I wasn't happy with the tone or the output of the bass. Right towards the end of practice I started really twisting the knobs and found a sweet spot (incredibly sweet) with bass and mid-range boosted. I had a really nice slap tone for a heavier song and by pulling down the mid-range, a sweet thunky sound for a more blue grassy song. I really don't think I need to go to two batteries.
I'm thoroughly impressed. I am convinced I need to take care of that neck. I'll put some pencil lines on it today and see what I'm looking at, I have some ideas, but not sure how they will translate onto the bass. I can see that the neck needs more radius - its too square and I think I can easily take 1/8" off the back without worrying about hitting that truss rod channel. I don't think the neck will be as thin as the Carvin necks I've been using, but I should be able to slim it down considerably.
There is now a website called Best Bass Gear that has so many different pickups and preamps its a bit overwhelming. I spent a few hours figuring out my options and asked them a few questions before settling on the same pickups I have in the other fretless, but changing the preamp to one that has six knobs. On this one I have treble, bass, mid-range, mid-range sweep, volume and pickup mix.
I played with everything flat to begin with, I mistakenly thought that's where I keep the controls of my other bass (it looks like I'm going to need to come up with names for my basses since I now have two fretless ones!). I wasn't happy with the tone or the output of the bass. Right towards the end of practice I started really twisting the knobs and found a sweet spot (incredibly sweet) with bass and mid-range boosted. I had a really nice slap tone for a heavier song and by pulling down the mid-range, a sweet thunky sound for a more blue grassy song. I really don't think I need to go to two batteries.
I'm thoroughly impressed. I am convinced I need to take care of that neck. I'll put some pencil lines on it today and see what I'm looking at, I have some ideas, but not sure how they will translate onto the bass. I can see that the neck needs more radius - its too square and I think I can easily take 1/8" off the back without worrying about hitting that truss rod channel. I don't think the neck will be as thin as the Carvin necks I've been using, but I should be able to slim it down considerably.
Monday, November 12, 2012
Its finished, yet unfinished
I finished the build on Friday, but immediately after finishing it I got my new road bike. I guess I got a bit distracted, in a good way.
The bass sounds good, I am familiar with EMG pickups so no surprises there, I added a bit more tone control to this one with a sweepable midrange and the ability to adjust the mix with one knob. I'll get a recording together once this nice weather passes, the bike will continue to be a distraction.
We have band practice tonight, it will be interesting to see how it performs.
Here's some pictures of the completed bass:


So back to the title of this post. Remember when I said I was being cocky by finishing it without a test fit? Yeah, well that is coming back to haunt me. I have three issues I need to deal with before I'm happy:
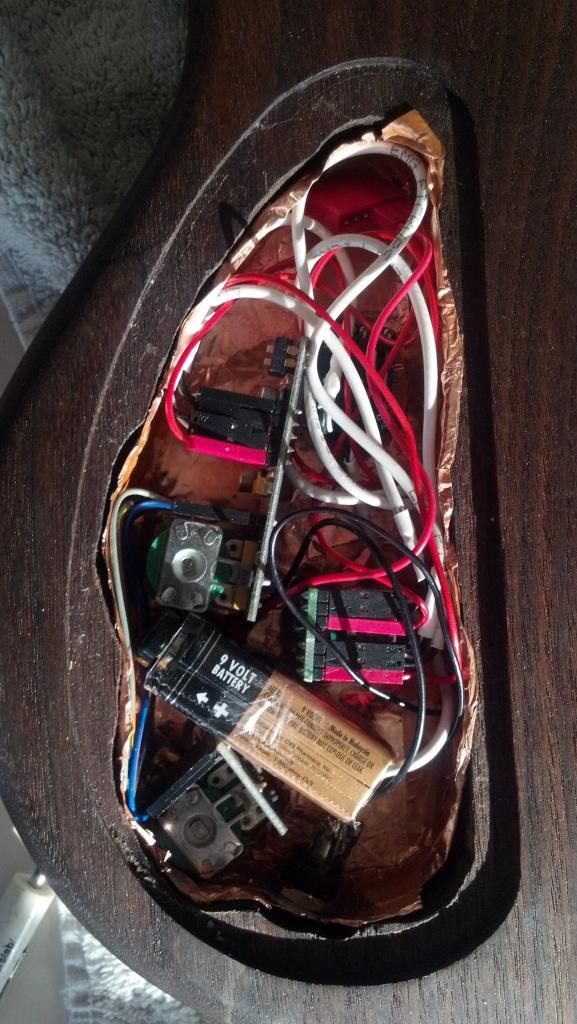
1) I was able to squeeze a single 9v battery into the control cavity, I really want to put a second in there, I'll need to undercut the cavity to make room for another one.
2) The headstock doesn't angle back as much as my other basses (apparently) I had to add some spacers (in the form of zip ties) to push the strings down on the tuning peg. The fix for this is simple, cut my strings longer next time - I'm probably too cheap to throw these strings away. Stupid mistake on my part.
3) The neck is too thick front to back. I was a chicken and left probably 5/16" of material behind the truss rod. That was safe, but I need to sand down another 3/16" of material off the back of the neck. Its too thick and blocky now. I'm not sure how much difference that 3/16" will make, but it will be better than it is now.
I originally told Dawn that was going to wait until after Christmas - which is far enough away that it really means "I don't want to deal with it". After thinking about it this weekend, I think I'm going to address this stuff this week.
The bass sounds good, I am familiar with EMG pickups so no surprises there, I added a bit more tone control to this one with a sweepable midrange and the ability to adjust the mix with one knob. I'll get a recording together once this nice weather passes, the bike will continue to be a distraction.
We have band practice tonight, it will be interesting to see how it performs.
Here's some pictures of the completed bass:
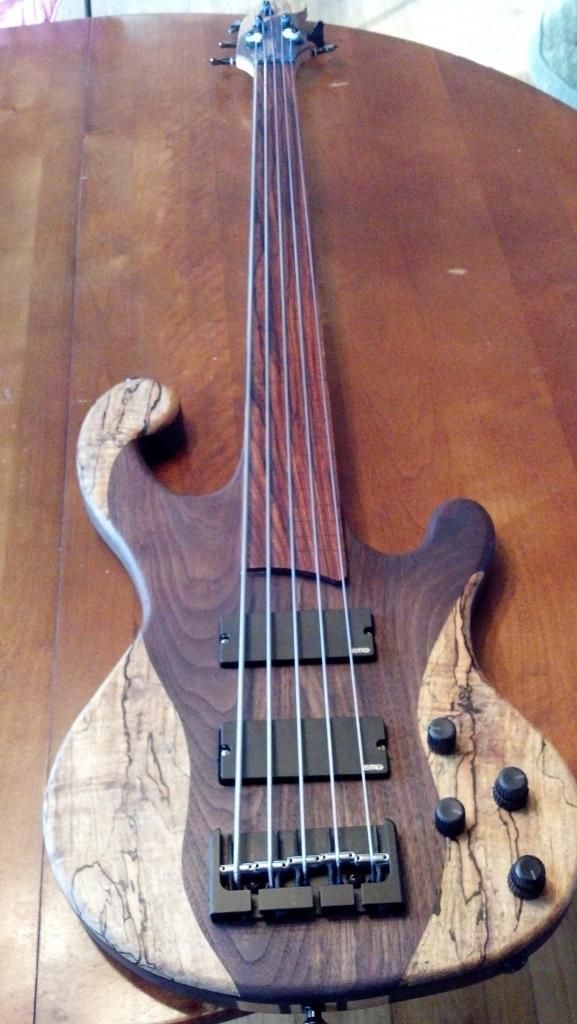
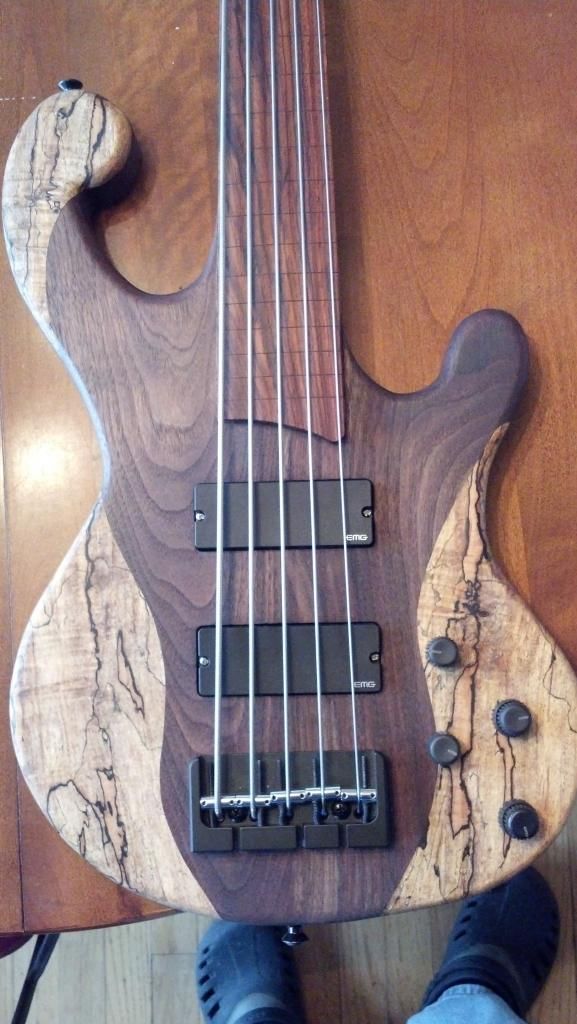
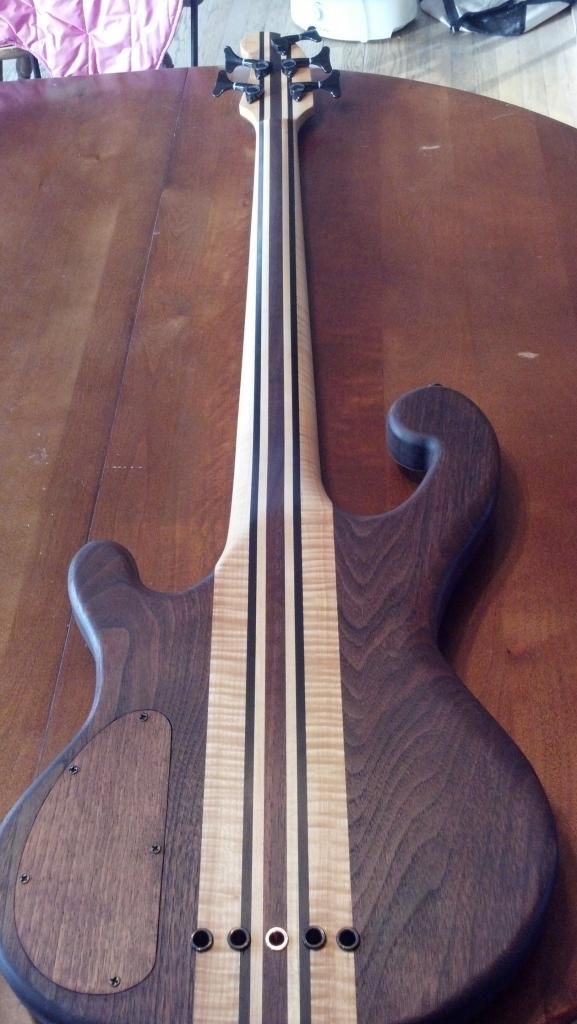
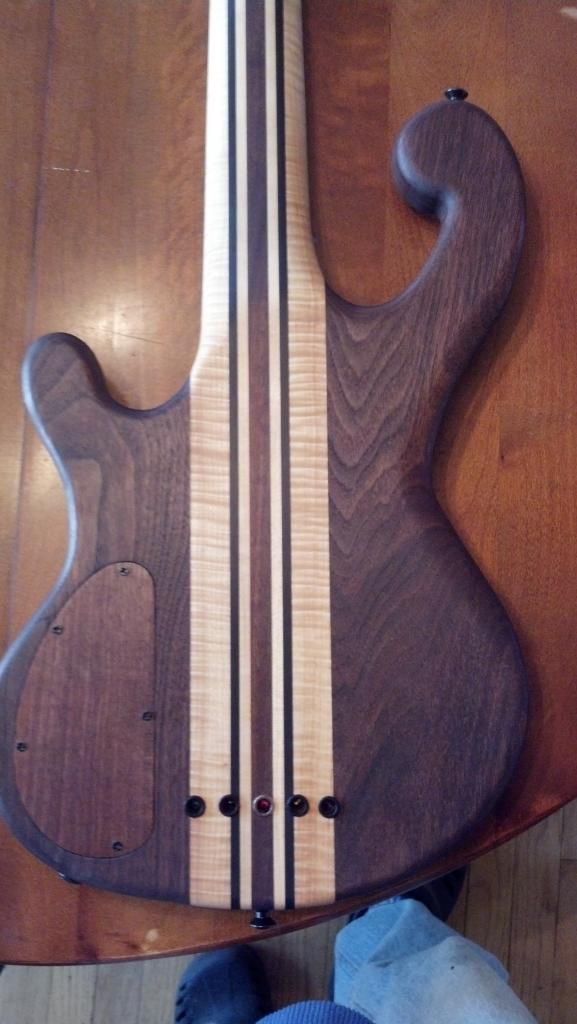
So back to the title of this post. Remember when I said I was being cocky by finishing it without a test fit? Yeah, well that is coming back to haunt me. I have three issues I need to deal with before I'm happy:
1) I was able to squeeze a single 9v battery into the control cavity, I really want to put a second in there, I'll need to undercut the cavity to make room for another one.
2) The headstock doesn't angle back as much as my other basses (apparently) I had to add some spacers (in the form of zip ties) to push the strings down on the tuning peg. The fix for this is simple, cut my strings longer next time - I'm probably too cheap to throw these strings away. Stupid mistake on my part.
3) The neck is too thick front to back. I was a chicken and left probably 5/16" of material behind the truss rod. That was safe, but I need to sand down another 3/16" of material off the back of the neck. Its too thick and blocky now. I'm not sure how much difference that 3/16" will make, but it will be better than it is now.
I originally told Dawn that was going to wait until after Christmas - which is far enough away that it really means "I don't want to deal with it". After thinking about it this weekend, I think I'm going to address this stuff this week.
Friday, November 9, 2012
Its alive!
I'll get some pictures, but I got the bass together and set up. The set up took forever. There are some minor issues I need to deal with (there always are) but it sounds really nice.
Paradise found
I finished putting the electronics in this morning. After carefully situating everything I can get one battery in there. I really want to run 18v, but I guess 9v will have to suffice for now. I have a battery box for 2 batteries, but on initial look I can't find any real estate on the bass where I can route for it.
Things are tight in that control cavity:


So I'm 12 screws and 5 strings away from music - going to the hardware store now to get those screws also trying out a road bike. Could be a big day for me!
Things are tight in that control cavity:
I got the knobs on the front too - it was a stupidly long operation to get those things on, mostly my own impatience and trying to hurry it along.
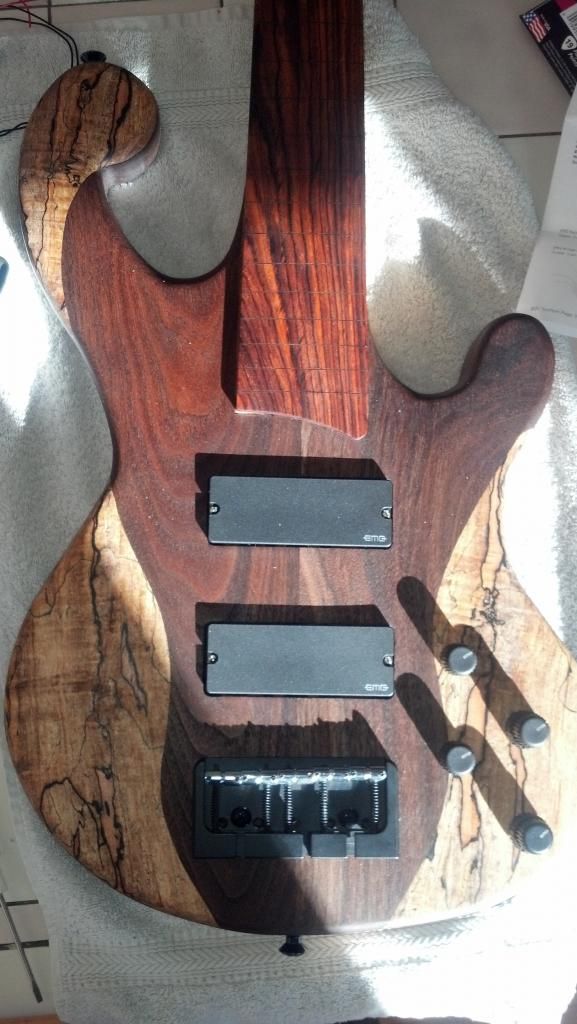
So I'm 12 screws and 5 strings away from music - going to the hardware store now to get those screws also trying out a road bike. Could be a big day for me!
Subscribe to:
Posts (Atom)