I made a pretty big mistake though - I drew out the placement of the pickups on the body yesterday and I made the channels for the wiring based on where I drew the pickups. Unfortunately the first thing I did today was sand the front - sanding off the lines. Ugh. Hopefully I figure out where they were based on one of my pictures, and they don't have to be perfect to catch the channels. Oh well, keep your fingers crossed for me.
So I had to sand down the back to make it flush - the black walnut was about 1/8" thicker than the neck blank was. That was painful. I really should have put them through the sanding planer to get rid of some of that difference. It took a long time with a belt sander, which takes material way too fast for my liking.
I also used the belt sander to form the back of the neck.
I used the oscillating drum sander to sand down the spot where the wings hit the neck - this has been a problem point on the other instruments I made, I used a completely different approach this time around - not because its better, but because it was the only way I could do it with this neck blank. It looks great. Its hard to believe that every joint is tight, not sure how I did that or if I could repeat it. I wish I could say that it was skill, it seems like luck.
On to the pictures.
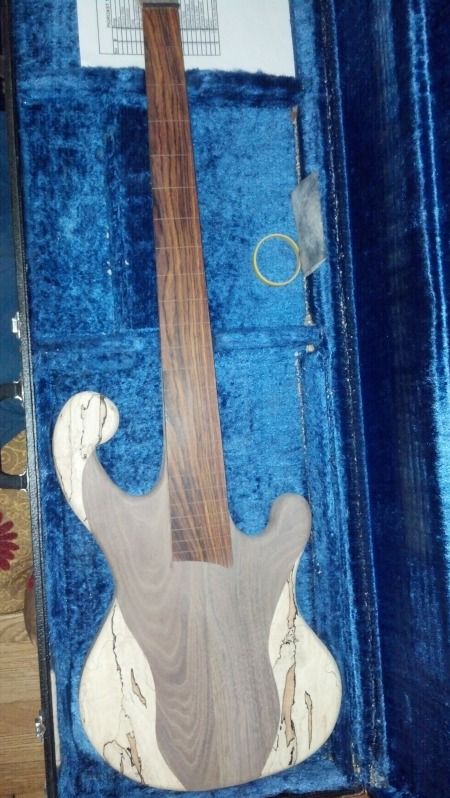
Whole instrument:
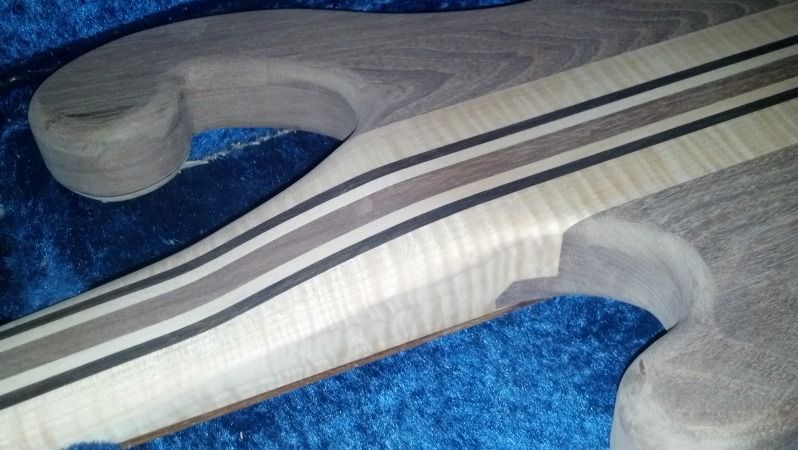
Neck heel - needs more work, but see that joint between the neck and the lower wing - tight, you can't see glue or space, NICE!:
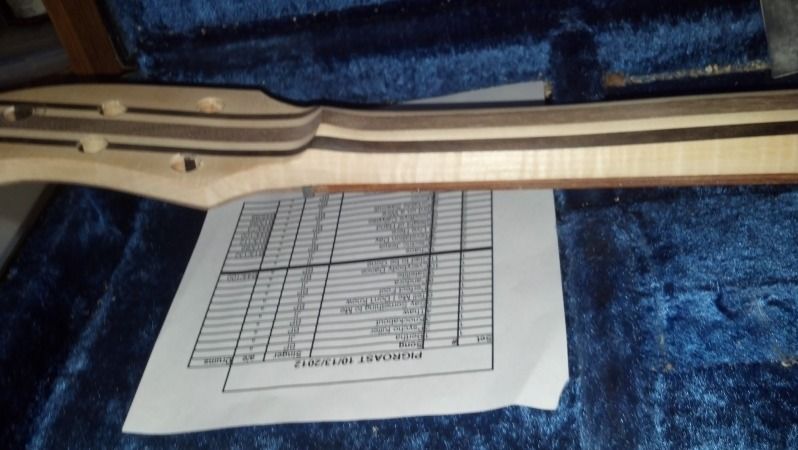
Headstock
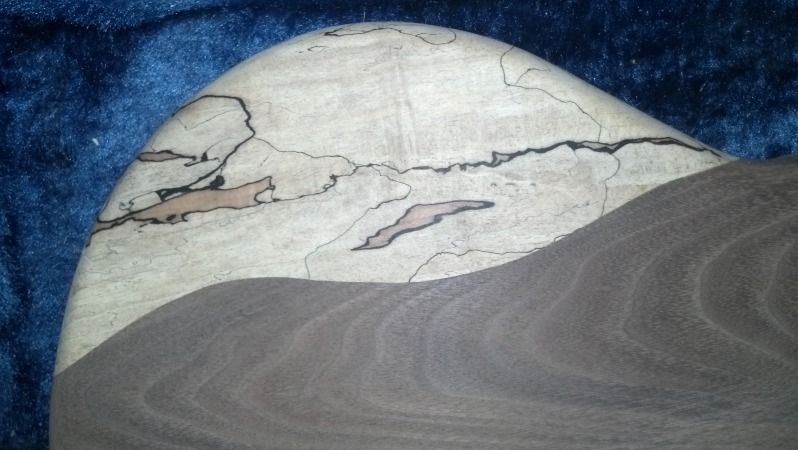
Upper wing (note how good the joint between the two woods looks - I added a little sawdust and glue:
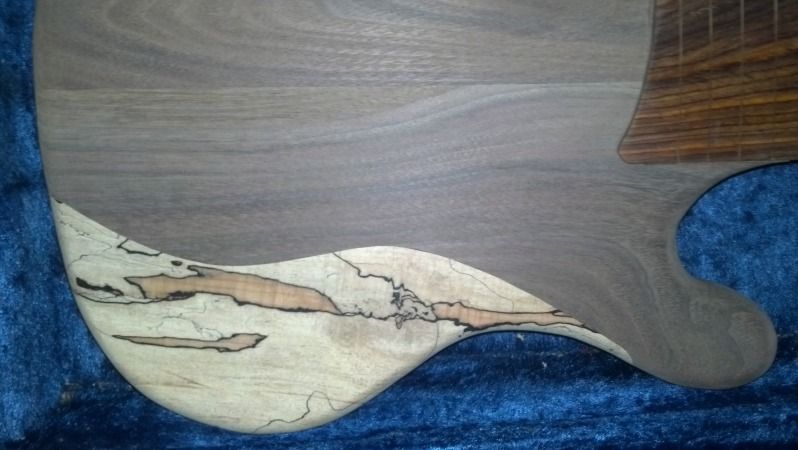
The lower wing:
No comments:
Post a Comment