The first thing I did at the shop today was straighten out the headstock a bit - I had used a foam sanding block for "final" sanding last time I was at the shop and it really made a mess rounding off the corners. A few minutes on the orbital drum sander and I had it back in shape. I also found that the headstock was too thick, a few minutes on the belt sander took care of that problem.
Next was drilling the holes for the machine heads - I drilled a pilot hole first then drilled from the front and from the back, amazingly they lined up perfectly. Looks good:
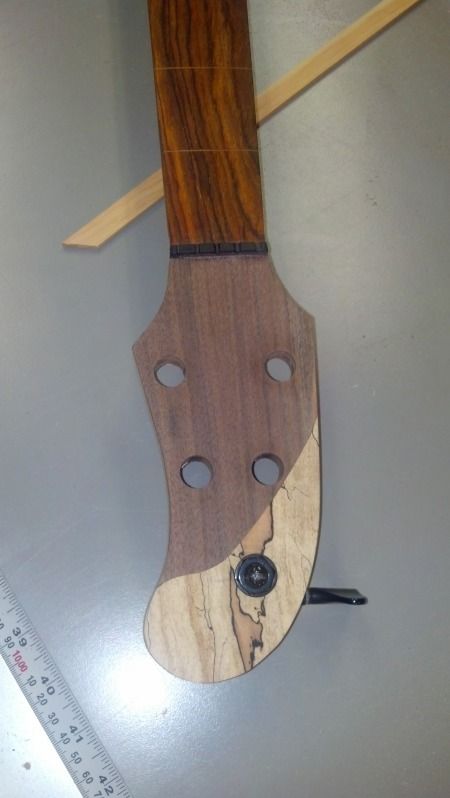
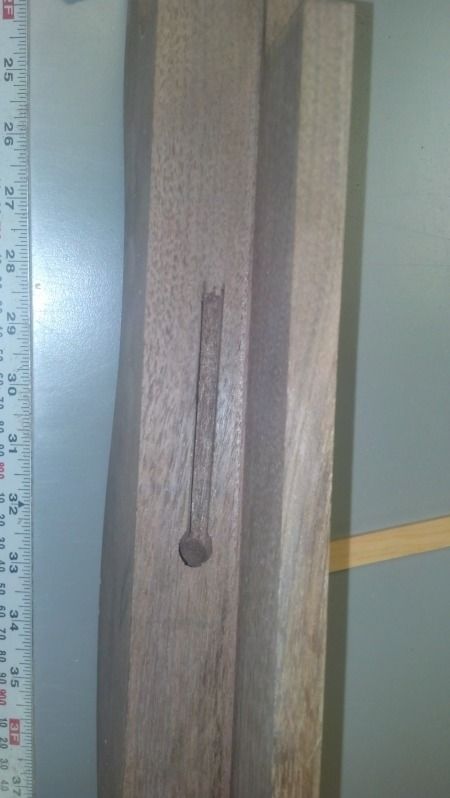
Next I made a channel for the wiring and drilled a hole to get from the pickup cavity to the control cavity - yay I remembered!
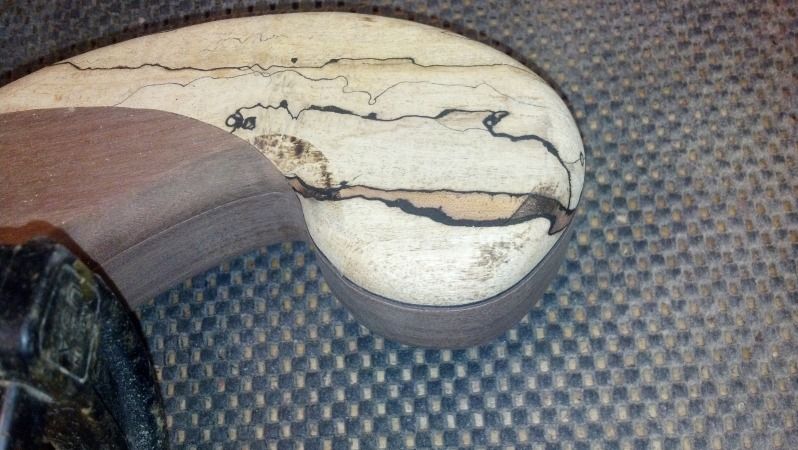
Then the step I love - rounding over the edges with a router - this really makes the bass look a lot less blocky. This was the first time I've really used a router unsupervised, it worked out great, but a little burning, its important to keep the router moving. I sanded one of the burn marks out, just to see how hard it was going to be - no big deal:
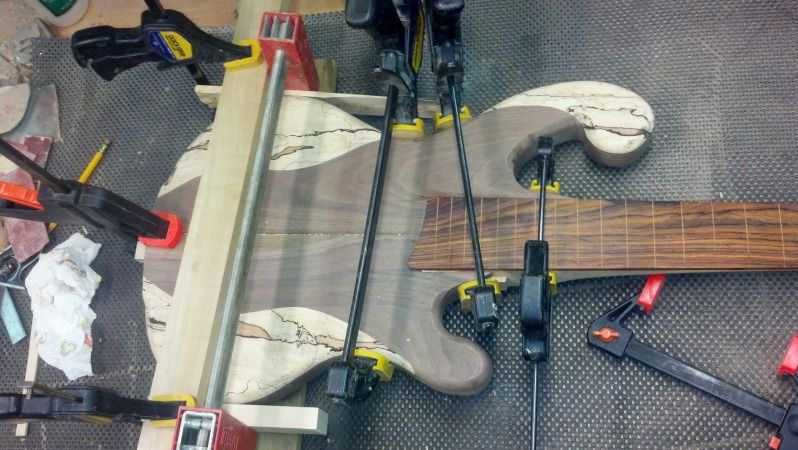
I always think the bass looks like a patient undergoing some kind of operation in a deranged hospital when its in the clamps - I know weird thought. Initially I was going to hang out over at my parent's house to wait for it to dry, but my father suggested that I give it time, sage advice.
This is a test fit, I actually took this picture for reference, I looked at it after I got the pieces all glued up to help me get the clamps in the right place.
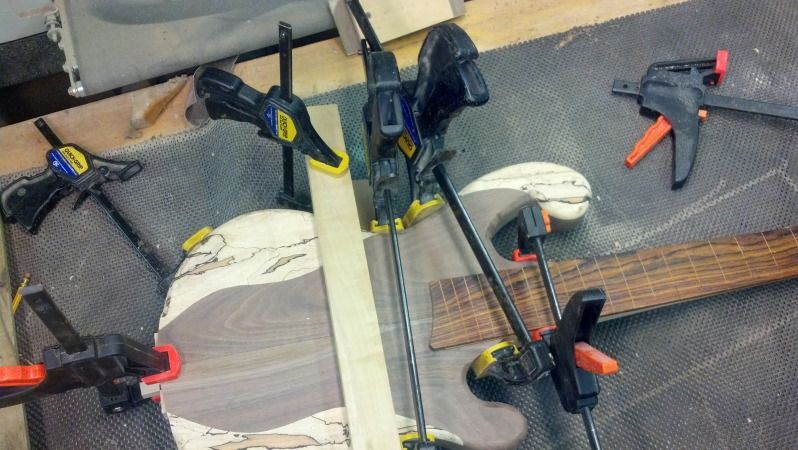
After I got the glue on I moved the clamps around to get the glue to squirt out of the joints. It was a bit frustrating, but not as bad as I thought it was going to be - glad I did the test fit first.
The next step will be to finish off the shaping on the body, I got what I could with the router, but there's areas that will take manual intervention. While today's progress is exciting, there's a LOT left to do. This manual shaping takes a lot of time, its slow and careful work.
No comments:
Post a Comment